Five Common Kitchen Sink Problems and How to Fix Them
Five Common Kitchen Sink Problems and How to Fix Them
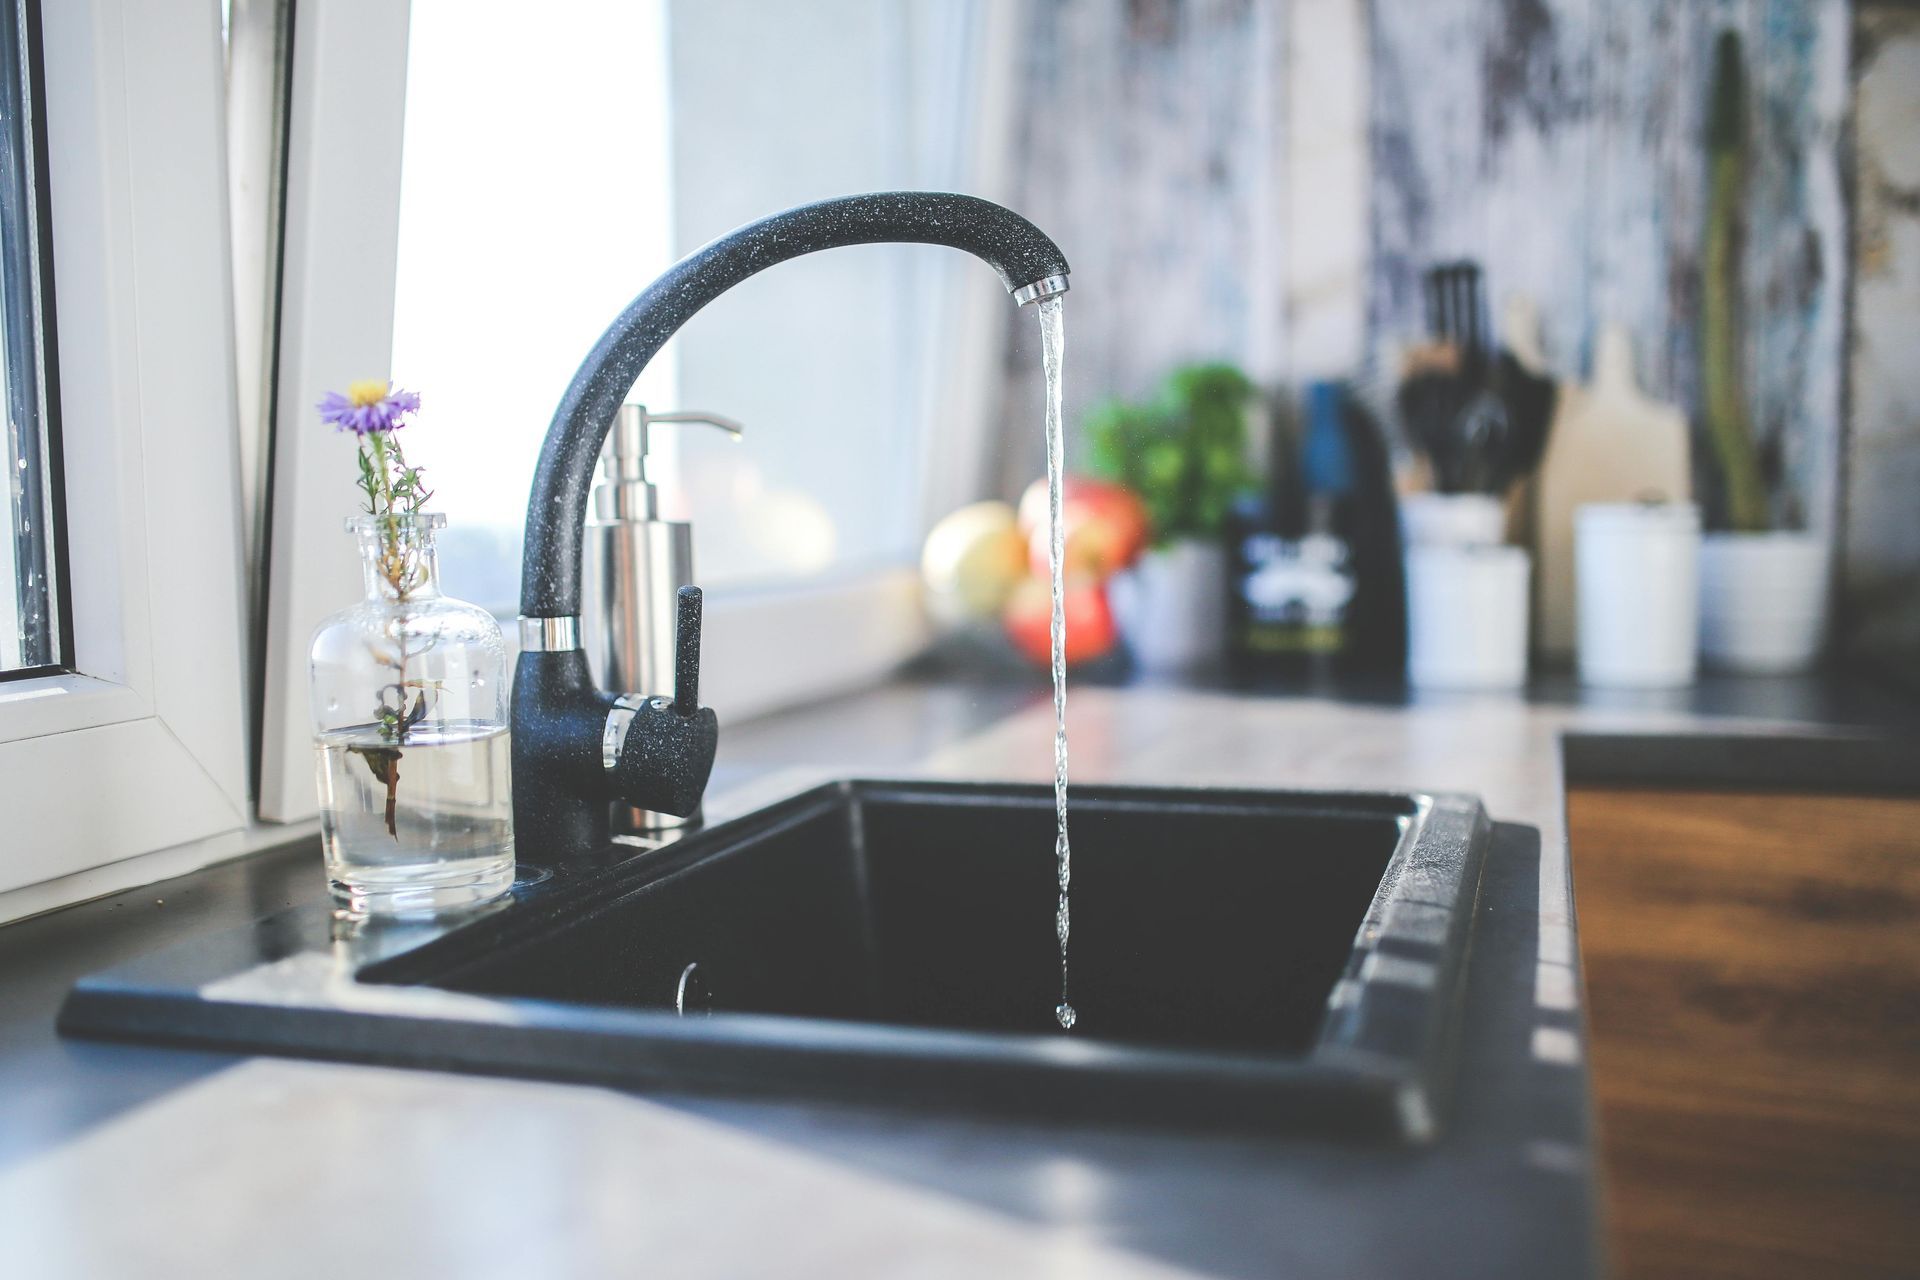
The kitchen sink is the workhorse of your home, constantly in use for everything from washing dishes to filling pots. With such heavy use, it's no surprise that problems can arise. The good news is that many common kitchen sink issues can be fixed with a little DIY know-how, saving you the expense of a plumber. Here are five of the most frequent problems and what you can do to tackle them.
1. The Stubborn Clog
A slow-draining or completely clogged sink is arguably the most common and frustrating kitchen sink problem. Grease, food particles, coffee grounds, and even small non-food items can build up in the drainpipes over time.
How to Fix It:
- Boiling Water (for grease clogs): For minor clogs, especially those caused by grease, boil a kettle of water and slowly pour it down the drain. Repeat if necessary. Caution: Do not use boiling water if you have PVC pipes, as it can damage them.
- Baking Soda and Vinegar: This classic duo creates a fizzing reaction that can break down many organic clogs. Pour 1 cup of baking soda down the drain, followed by 1 cup of white vinegar. Cover the drain with a stopper and let it sit for 15-30 minutes. Flush with hot water.
- Plunger Power: A good old-fashioned plunger can often dislodge clogs. Fill the sink with enough water to cover the plunger's cup, create a tight seal over the drain, and plunge vigorously for 20-30 seconds. Repeat if needed. If you have a double sink, block the other drain opening with a stopper or wet rag for better suction.
- Cleaning the P-Trap: The P-trap is the curved pipe directly under your sink. It's designed to trap debris and prevent sewer gases from entering your home, making it a common spot for clogs. Place a bucket underneath to catch water, then use channel-lock pliers to loosen the nuts on either side of the P-trap. Remove the trap and clear out any gunk. Reattach and tighten the nuts.
- Drain Snake (Auger): For deeper, more stubborn clogs, a drain snake (or auger) can be invaluable. Feed the snake into the drain until you hit resistance. Twist the snake to break up or retrieve the clog, then slowly pull it out.
2. The Annoying Leaky Faucet
A dripping faucet isn't just irritating; it wastes water and can add up on your utility bill. Most faucet leaks are due to worn-out washers, O-rings, or a faulty cartridge.
How to Fix It:
- Identify the Faucet Type: Different faucet types (compression, cartridge, ball, disc) have different internal components. Knowing your faucet type can help you identify the specific part causing the leak.
- Turn Off Water Supply: Before you do anything, turn off the hot and cold water supply valves located under the sink. If you can't find them, shut off the main water supply to your house.
- Disassemble the Faucet: Depending on your faucet type, you'll need to remove the handle, decorative cap, and expose the internal components. Use a screwdriver to remove screws and a wrench to loosen nuts.
- Replace Worn Parts: Carefully examine the washers, O-rings, or cartridge for signs of wear, cracks, or corrosion. Take the old part to a hardware store to ensure you buy the correct replacement. Lubricate new O-rings with plumber's grease before installing.
- Reassemble and Test: Put the faucet back together, tightening all connections. Turn the water supply back on slowly and check for leaks.
3. Low Water Pressure
When your kitchen faucet dribbles instead of streams, it can be frustrating. Low water pressure in just one faucet often points to an issue with that specific fixture.
How to Fix It:
- Clean the Aerator: The aerator is the screen at the tip of your faucet. It can easily get clogged with mineral deposits or debris, restricting water flow. Unscrew the aerator (you might need pliers), disassemble it, and clean all parts thoroughly. Soak stubborn mineral buildup in vinegar overnight. Reassemble and reattach.
- Check Shut-Off Valves: Ensure the hot and cold water supply valves under the sink are fully open. Sometimes they can get partially closed, reducing pressure.
- Inspect Supply Lines: Check the flexible water supply lines under the sink for kinks or damage. Straighten any kinks or replace damaged lines.
- Flush the Faucet: If you recently had plumbing work done, debris might be trapped in the faucet itself. With the aerator removed, turn the water on full blast for a minute to flush out any loose particles.
4. Garbage Disposal Not Working
A humming sound but no action, or no sound at all, are common signs of a garbage disposal problem.
How to Fix It:
- Check for a Jam: ALWAYS unplug the disposal or turn off power at the circuit breaker first! Look down into the disposal with a flashlight to see if there's a foreign object (silverware, fruit pit) causing the jam. Use pliers or tongs (NEVER your hand) to remove it.
- Reset Button: Many disposals have a small red or black reset button on the bottom. If the disposal is silent, this button may have tripped due to overload. Press it firmly.
- Allen Wrench: If the disposal hums but doesn't spin, the flywheel might be jammed. On the bottom of the disposal, there's usually a hexagonal hole. Insert the Allen wrench (often provided with the disposal) and turn it back and forth to manually free the impellers.
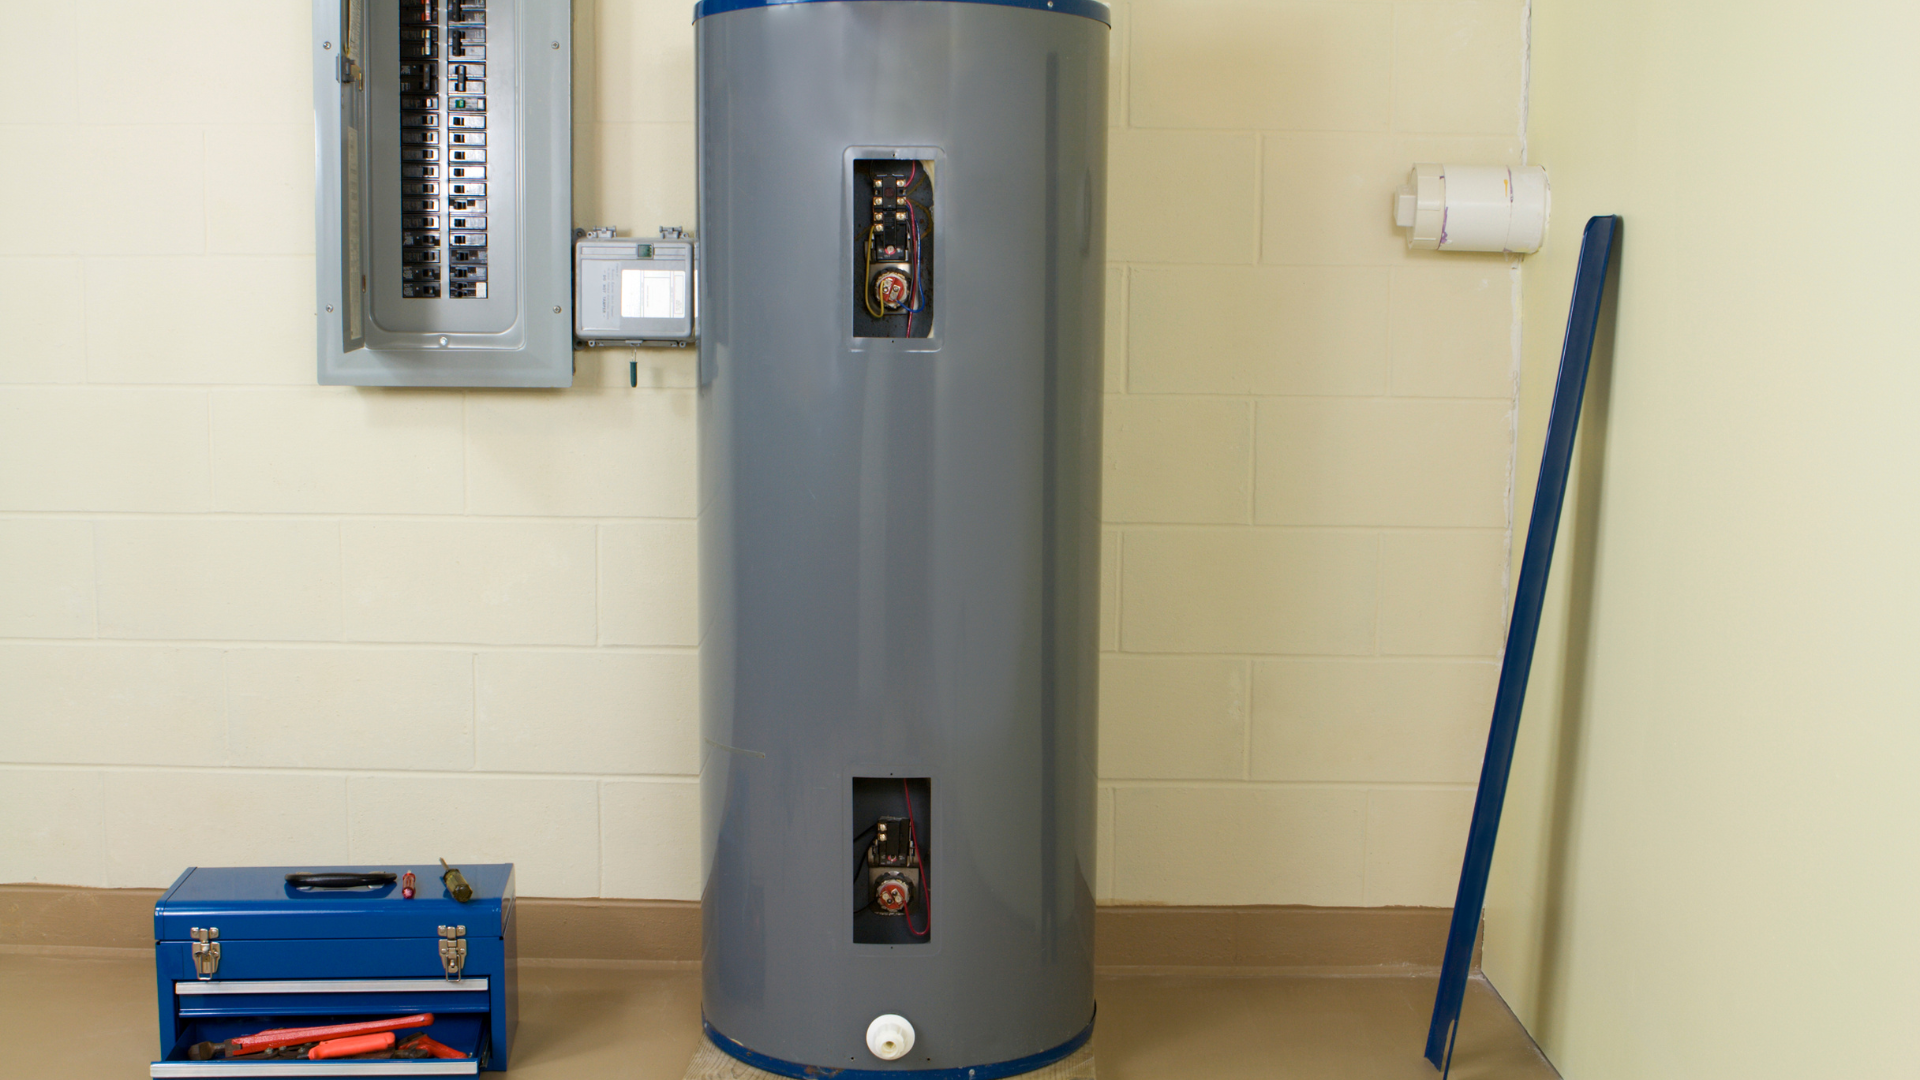
- Check Circuit Breaker: If there's no power at all, check your home's electrical panel to see if the circuit breaker for the disposal has tripped.
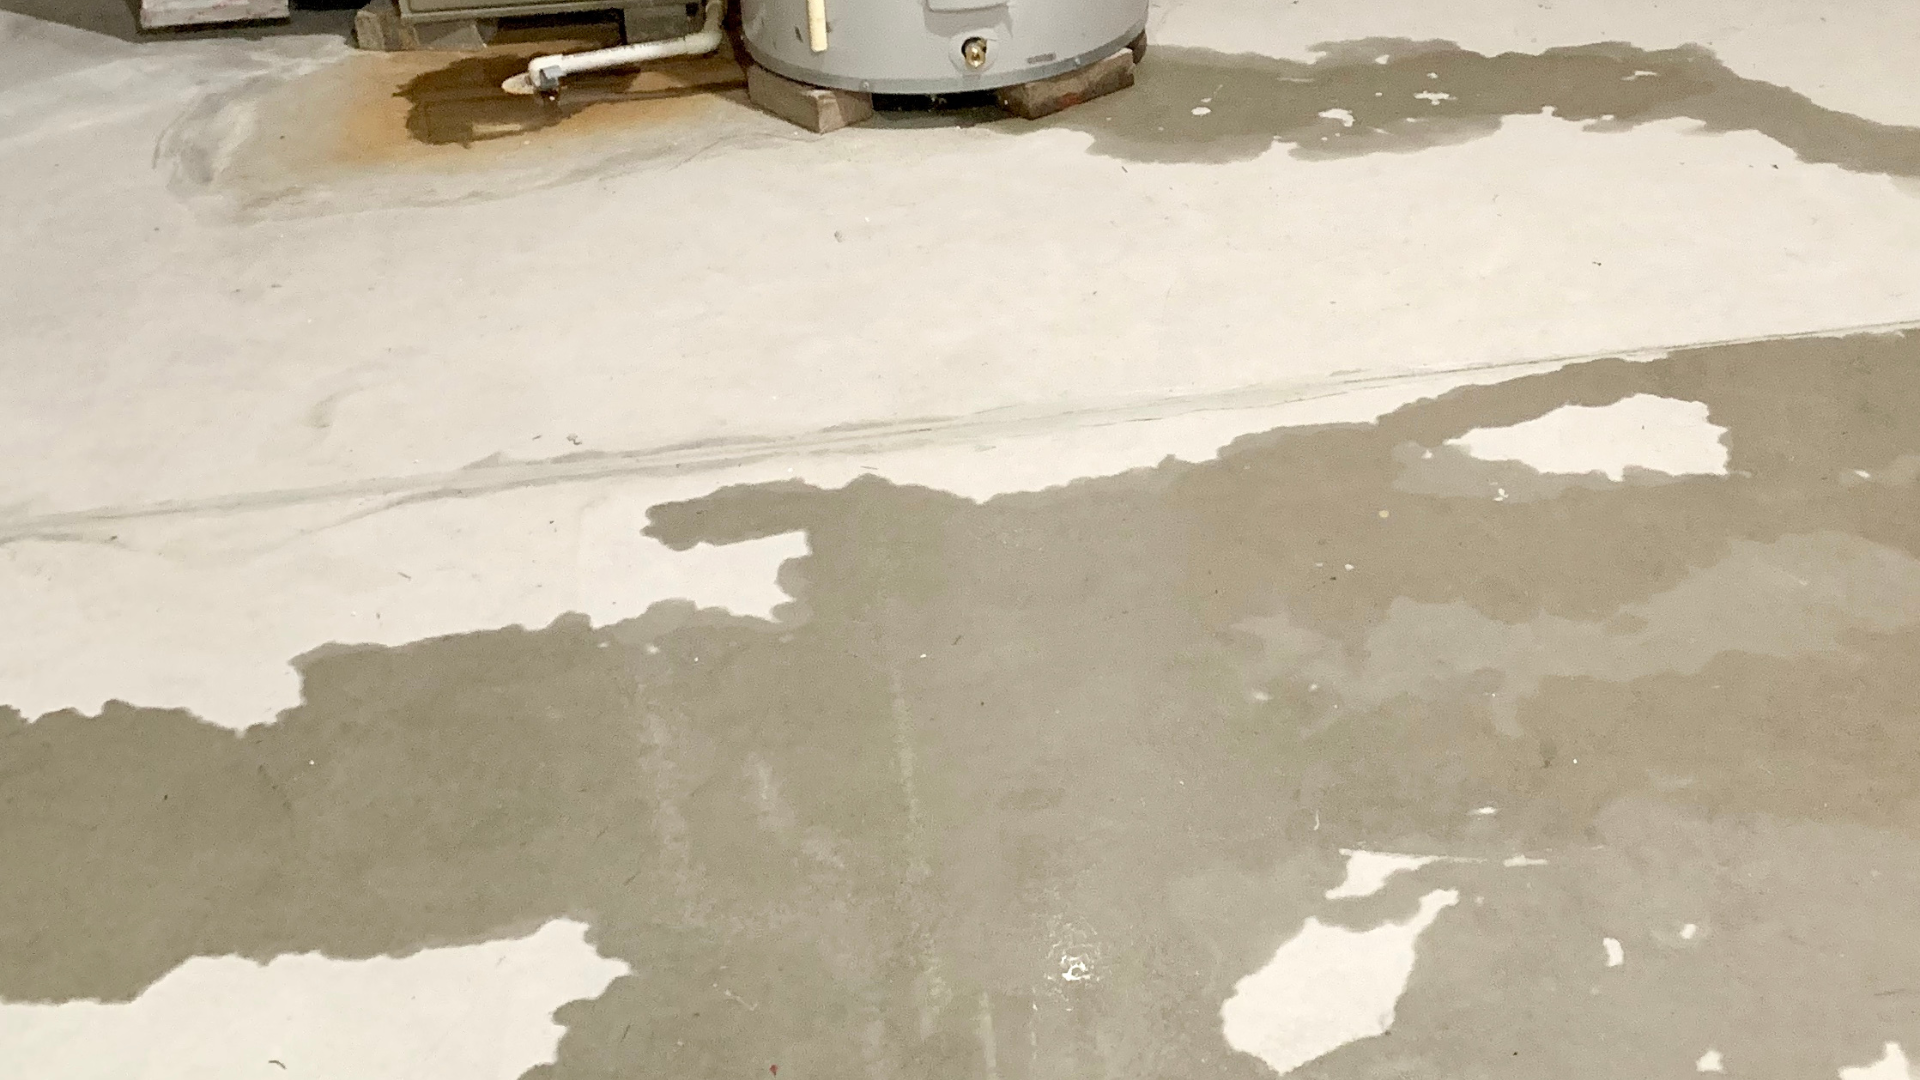
5. Leaks Under the Sink
Puddles or dampness inside your under-sink cabinet are clear indicators of a leak. Identifying the source is key to fixing it.
How to Fix It:
- Dry the Area: Thoroughly dry the entire area under the sink so you can pinpoint the exact source of the leak.
- Trace the Leak: Turn on the water and observe carefully.
- Faucet Base: If water is pooling around the base of the faucet, the issue is likely a worn O-ring or seal within the faucet itself (refer to leaky faucet fix above).
- Supply Lines: Check the connections where the water supply lines meet the faucet and the shut-off valves. Tighten any loose connections. If the line itself is leaking, it needs to be replaced.
- Drain Connections: Inspect all the connections along the drainpipes, including the P-trap, for drips. Loose connections or failing seals (like plumber's putty or rubber washers) are common culprits. Tighten connections, or disassemble, clean old sealant, apply new plumber's putty or replace rubber washers as needed.
- Garbage Disposal: Leaks from the disposal can come from various points – the connection to the sink flange, the discharge pipe, or the dishwasher drain hose. Tighten connections, or if necessary, replace gaskets or even the entire disposal unit if the housing is cracked.
While these DIY fixes can resolve many common kitchen sink problems, don't hesitate to call a qualified plumber if you're uncomfortable with the repair, the problem persists, or you suspect a more serious issue with your home's plumbing system. A little proactive maintenance and quick action can keep your kitchen sink flowing smoothly for years to come.
Click Another Article to Read More