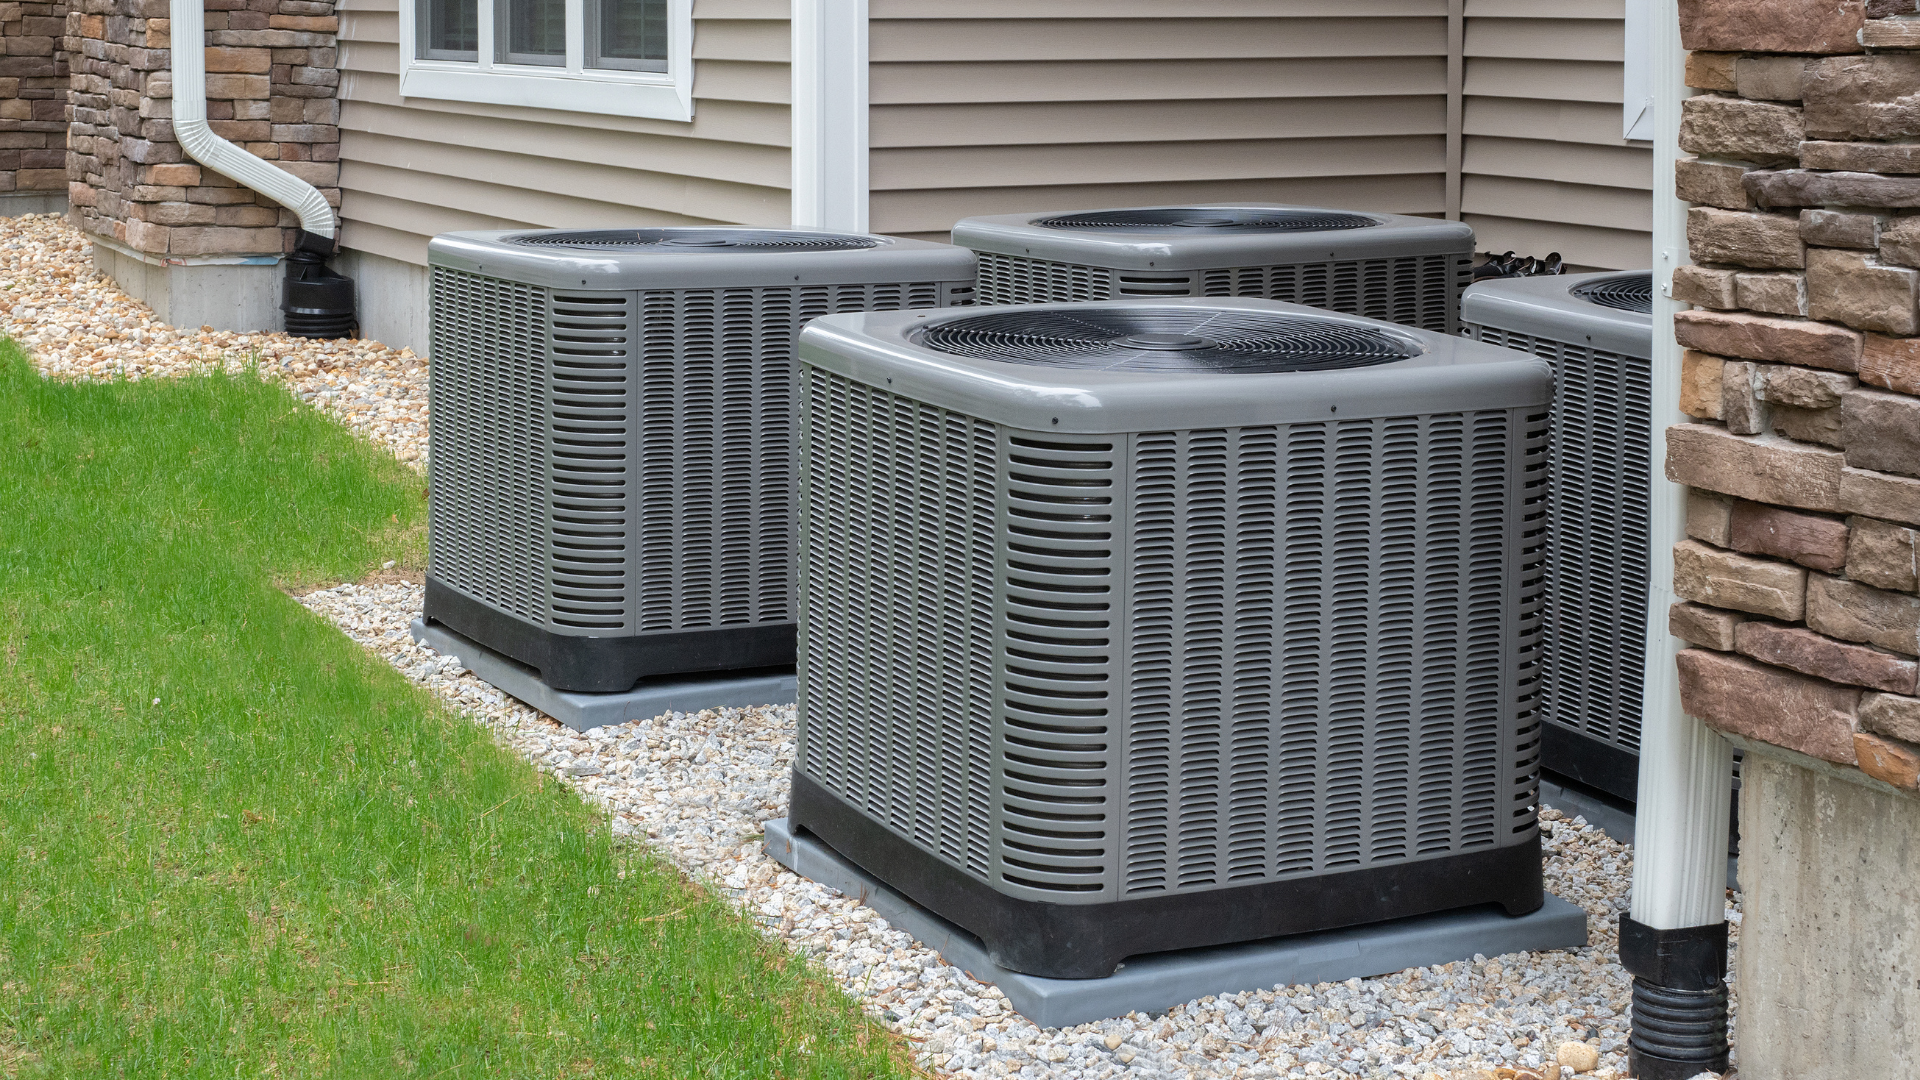
What To Do When Water Leaks from Your Air Conditioning Unit
Is Your AC or Heat Pump Leaking from the Bottom? Here's What Could Be Wrong (and What to Do!)

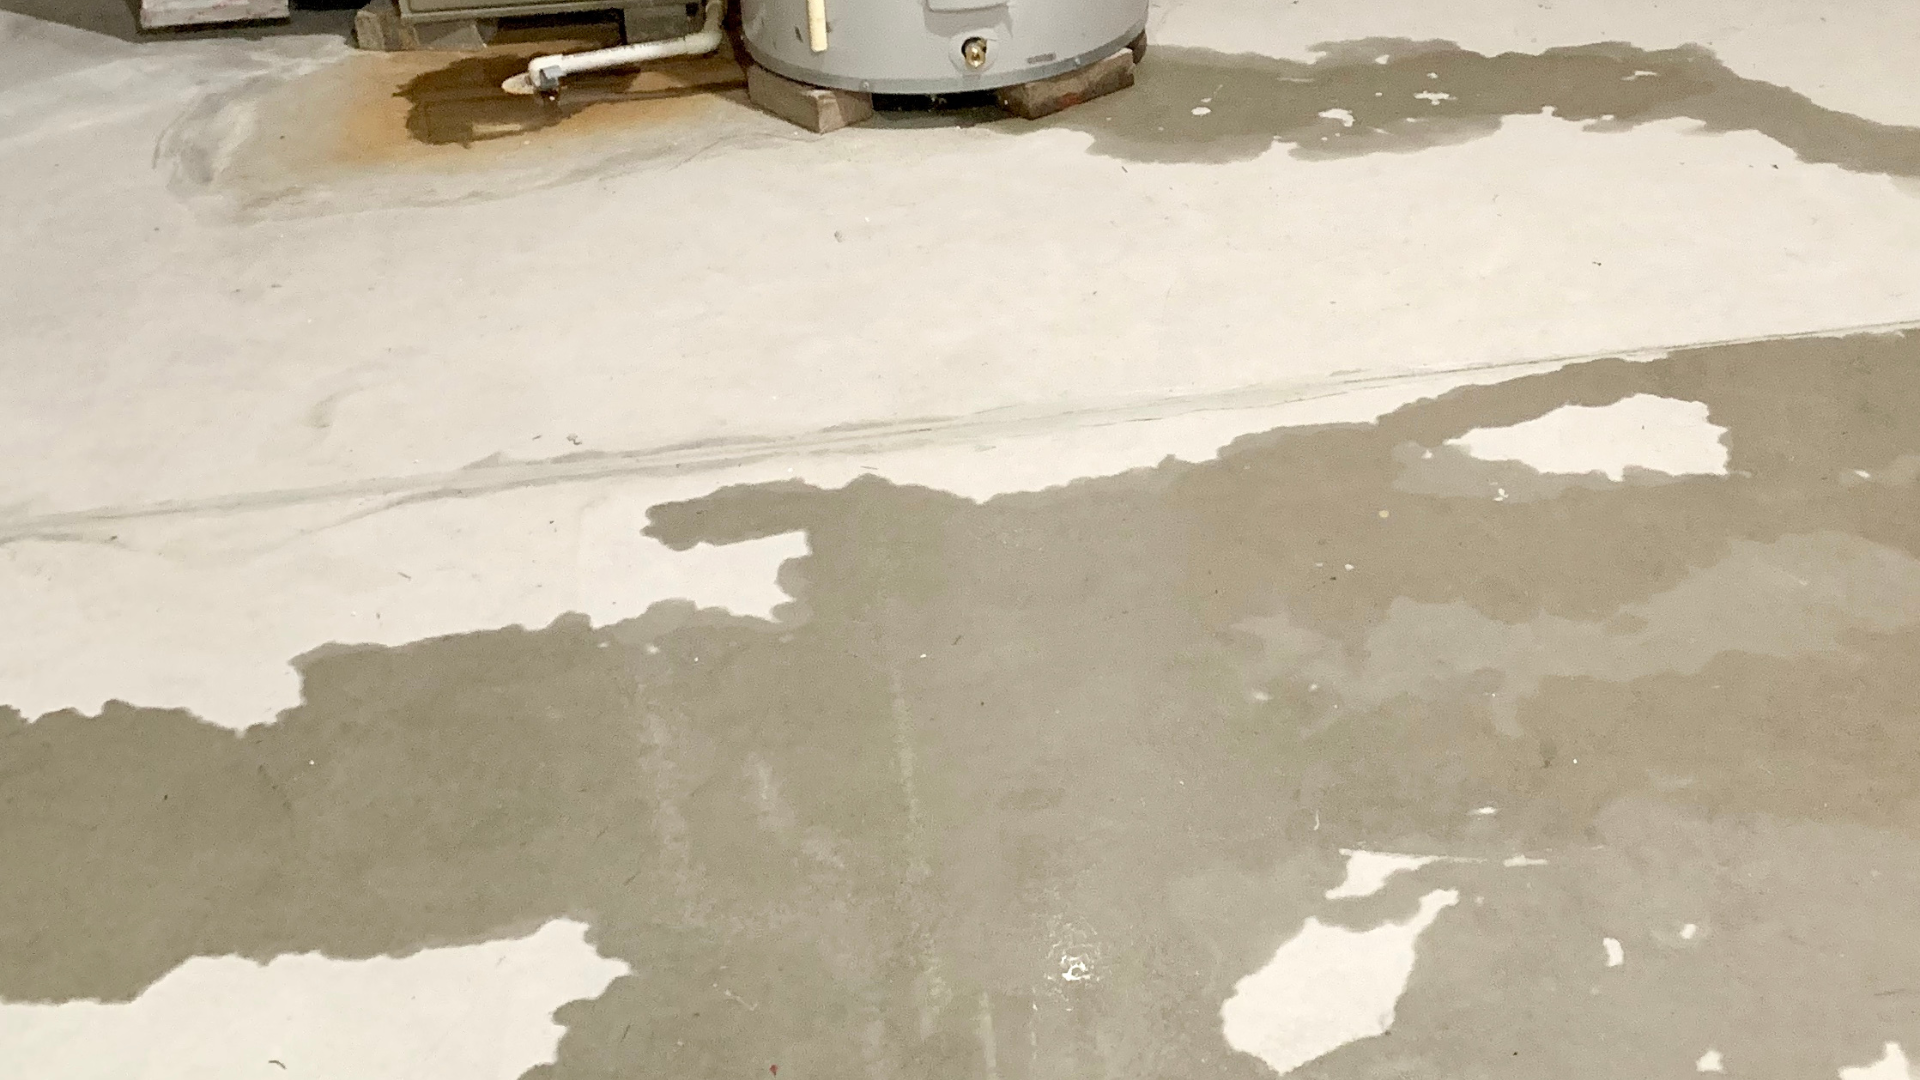
Discovering a puddle of water around your indoor air conditioning unit or heat pump can be alarming. While a small amount of condensation is normal, a significant leak from the bottom of the unit signals a problem that needs attention. Ignoring it can lead to water damage, mold growth, and decreased system efficiency.
Here's a breakdown of common reasons your AC or heat pump might be leaking from the bottom and what steps you should take:
Common Causes of Leaks
1. Clogged Condensate Drain Line: This is by far the most frequent culprit. As your AC or heat pump cools the air, it removes humidity, creating condensation. This water drips into a drain pan and flows through a condensate line, usually a PVC pipe, to an outdoor drain. Over time, algae, mold, dust, and sludge can build up in this line, causing a clog. When the line is blocked, the water backs up in the pan and overflows, leading to a leak from the bottom of the unit.
2. Cracked or Damaged Drain Pan: The drain pan, also known as the collection pan or overflow pan, sits beneath the evaporator coil to catch condensation. If this pan is old, rusted, or has developed cracks, water will simply seep through the damage and leak onto your floor.
3. Disconnected Condensate Line: Sometimes, the condensate line can become disconnected from the drain pan or the main drain system. This could be due to vibrations from the unit, improper installation, or even accidental dislodgement. If the connection is loose or completely separated, water will escape before reaching the intended drainage point.
4. Frozen Evaporator Coil: A frozen evaporator coil means ice is forming on the indoor coil of your AC or heat pump. This usually happens due to: * Low Refrigerant Levels: Not enough refrigerant means the coil can't absorb heat effectively, causing it to get too cold and freeze. * Poor Airflow: Blocked air filters, closed vents, or a malfunctioning blower motor can restrict airflow over the coil, leading to freezing. When the ice melts, it creates an excessive amount of water that can overwhelm the drain pan and overflow.
5. Clogged Air Filter: While seemingly minor, a severely clogged air filter can significantly restrict airflow to the evaporator coil. As mentioned above, this lack of airflow can cause the coil to freeze, leading to leaks when the ice melts.
6. Improper Installation: If your AC or heat pump was not installed correctly, the drain pan might not be properly sloped, preventing water from draining effectively. This can lead to standing water and eventual overflow.
What to Do When Your Unit is Leaking
Step 1: Turn Off Your System Immediately The moment you notice a leak, turn off your air conditioning or heat pump system at the thermostat and, if possible, at the circuit breaker. This prevents further water damage and protects the electrical components of your unit.
Step 2: Clean Up the Water Safely clean up any standing water around the unit to prevent slip hazards and minimize damage to your flooring or ceiling below. Use towels, a wet vac, or a mop.
Step 3: Check the Air Filter If your air filter is dirty, replace it. A clean filter is crucial for proper airflow.
Step 4: Inspect the Condensate Drain Line (If Accessible) If you're comfortable, locate the condensate drain line (often a PVC pipe leading away from the indoor unit). Look for any obvious blockages near the opening of the drain pan. You can try to clear minor clogs by carefully using a wet/dry vacuum at the outdoor end of the drain line, or by gently pouring a cup of distilled vinegar mixed with water into the condensate drain access point (if available) to dissolve algae. Avoid using harsh chemicals.
Step 5: Examine the Drain Pan Visually inspect the drain pan for any visible cracks, rust, or damage. If you see any, the pan will likely need to be replaced.
Step 6: Look for a Frozen Coil If you suspect a frozen coil, turn off your system and allow the ice to melt completely. This can take several hours. Do not try to chip away at the ice. Once melted, restart the system after checking the filter.
Step 7: Call a Professional HVAC Technician If you've performed these basic checks and the leak persists, or if you're uncomfortable attempting any of these steps, it's time to call a qualified HVAC technician. They have the tools and expertise to:
- Thoroughly clear stubborn clogs.
- Diagnose and repair cracked drain pans.
- Check refrigerant levels and repair leaks.
- Diagnose and fix airflow issues.
- Address any installation-related problems.
Prompt action can prevent a small leak from turning into a major expense. Regular maintenance, including annual professional tune-ups, can help prevent many of these issues from occurring in the first place, ensuring your AC or heat pump runs efficiently and leak-free.
Sources:
- AC Drain Line Clog: What To Do - Aire Serv: https://www.aireserv.com/about/blog/2021/september/ac-drain-line-clog-what-to-do/
- Why Is My AC Leaking Water? - Carrier: https://www.carrier.com/residential/en/us/help-and-support/faqs/why-is-my-ac-leaking-water/
- Why Is My AC Freezing Up? - Trane: https://www.trane.com/residential/en/heating-cooling/support/why-is-my-ac-freezing-up/
- What To Do When Your Air Conditioner Is Leaking Water - Bob Vila: https://www.bobvila.com/articles/what-to-do-when-your-air-conditioner-is-leaking-water/
Click Another Article to Read More