The Homeowner's Guide to Condensate Pumps
Don't Let a Drip Become a Disaster: The Homeowner's Guide to Condensate Pumps
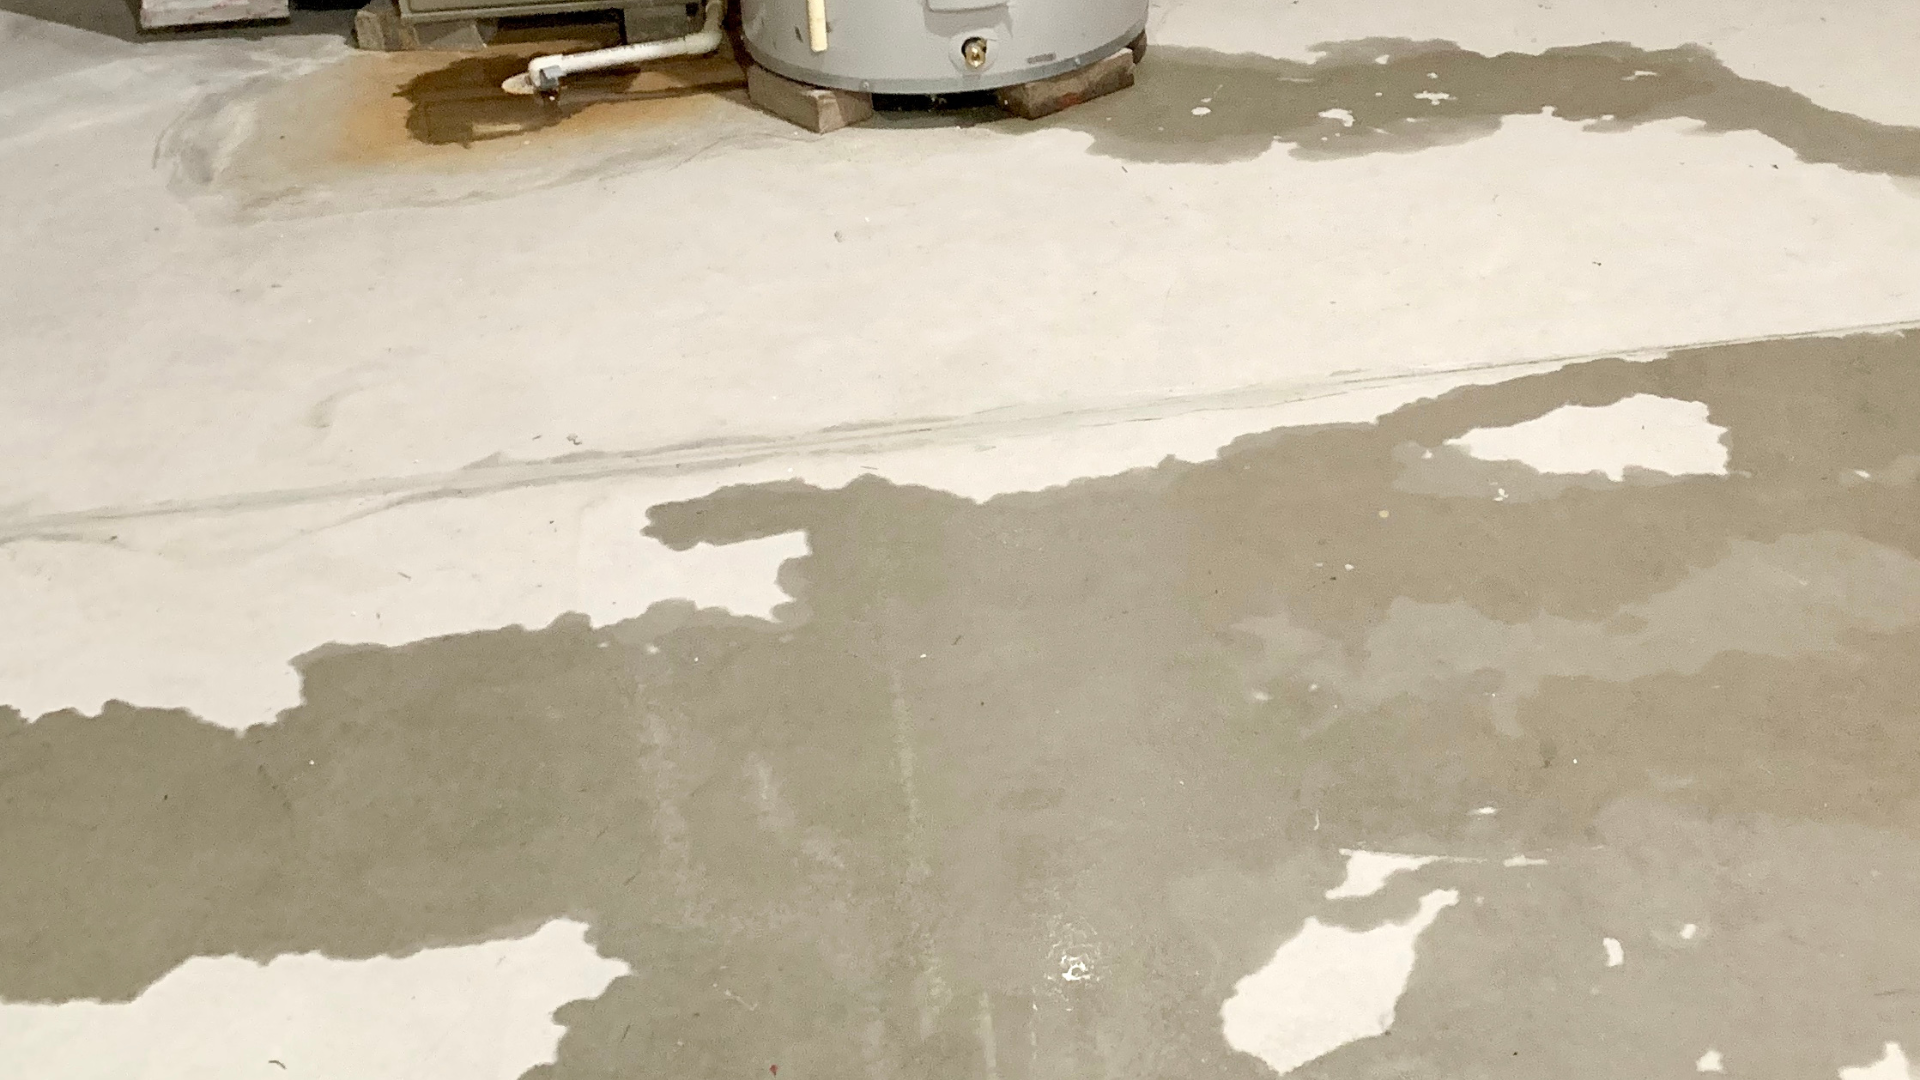
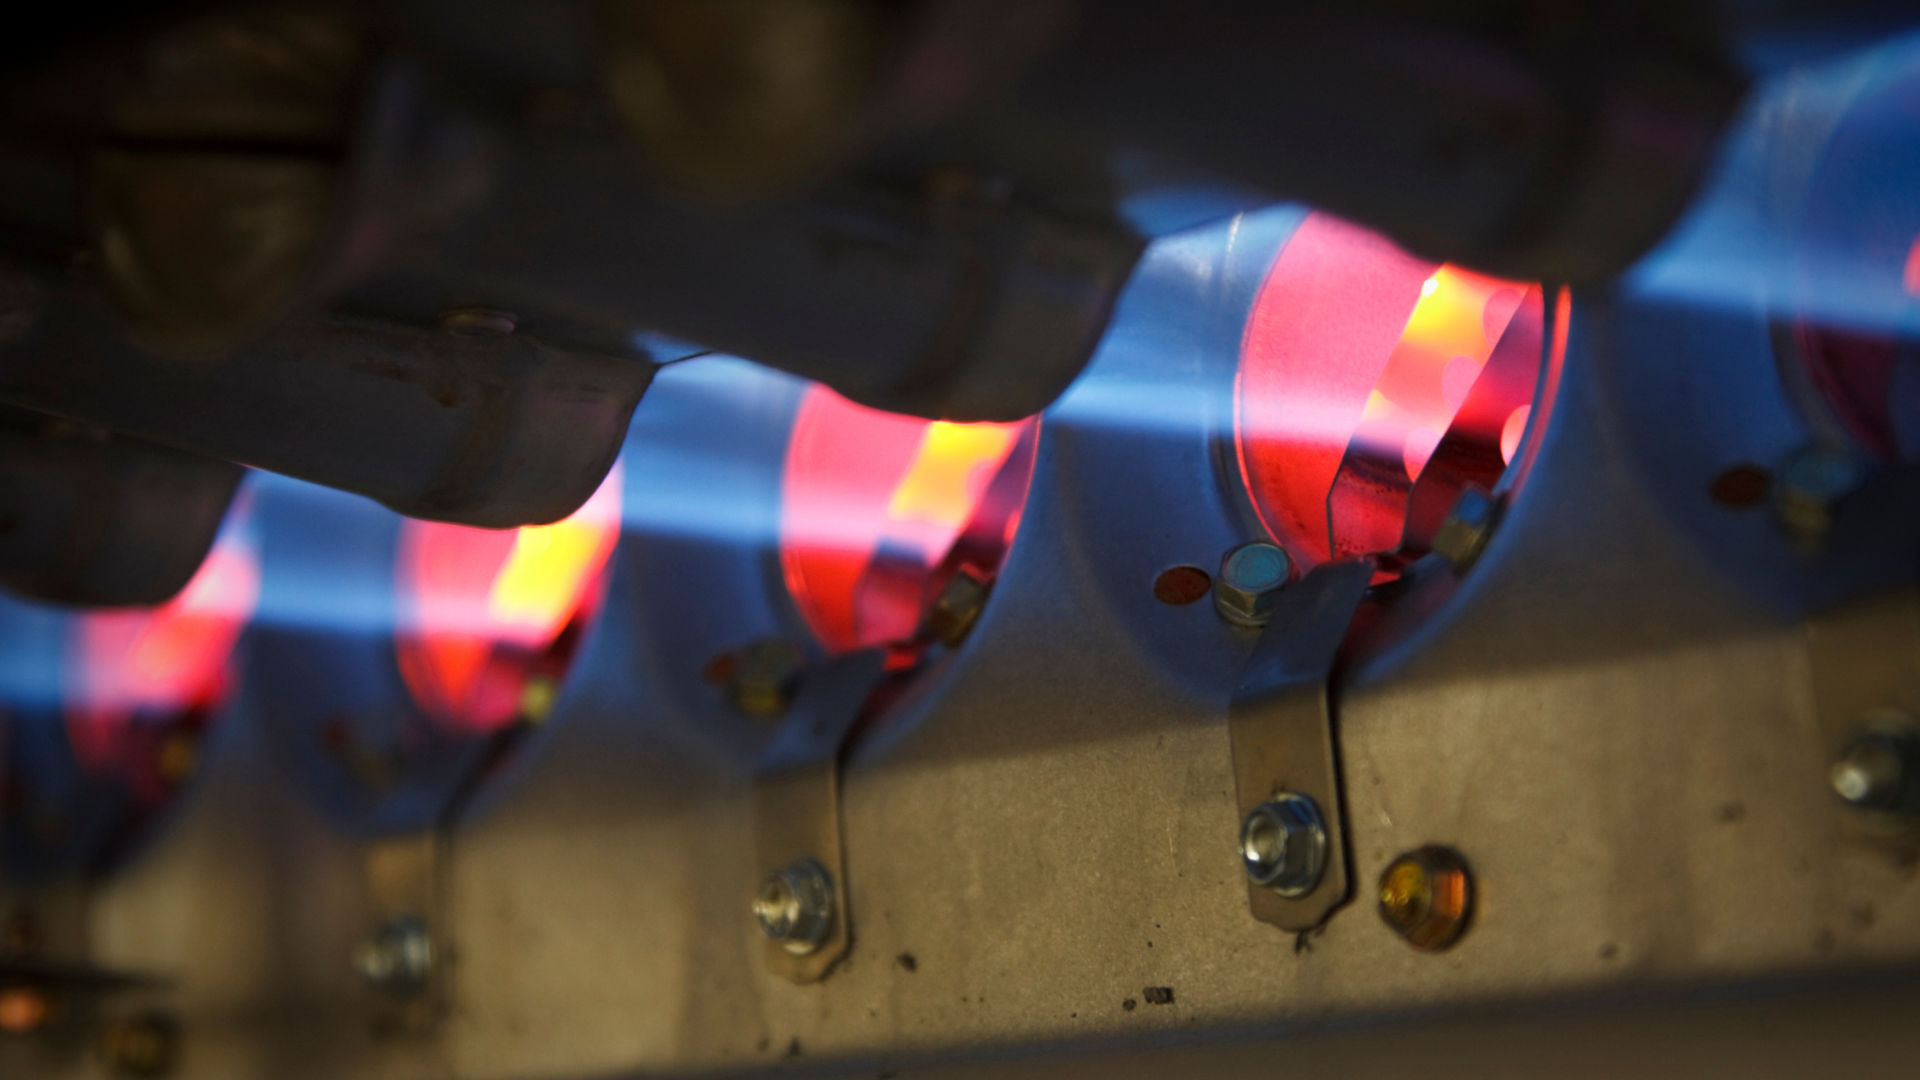
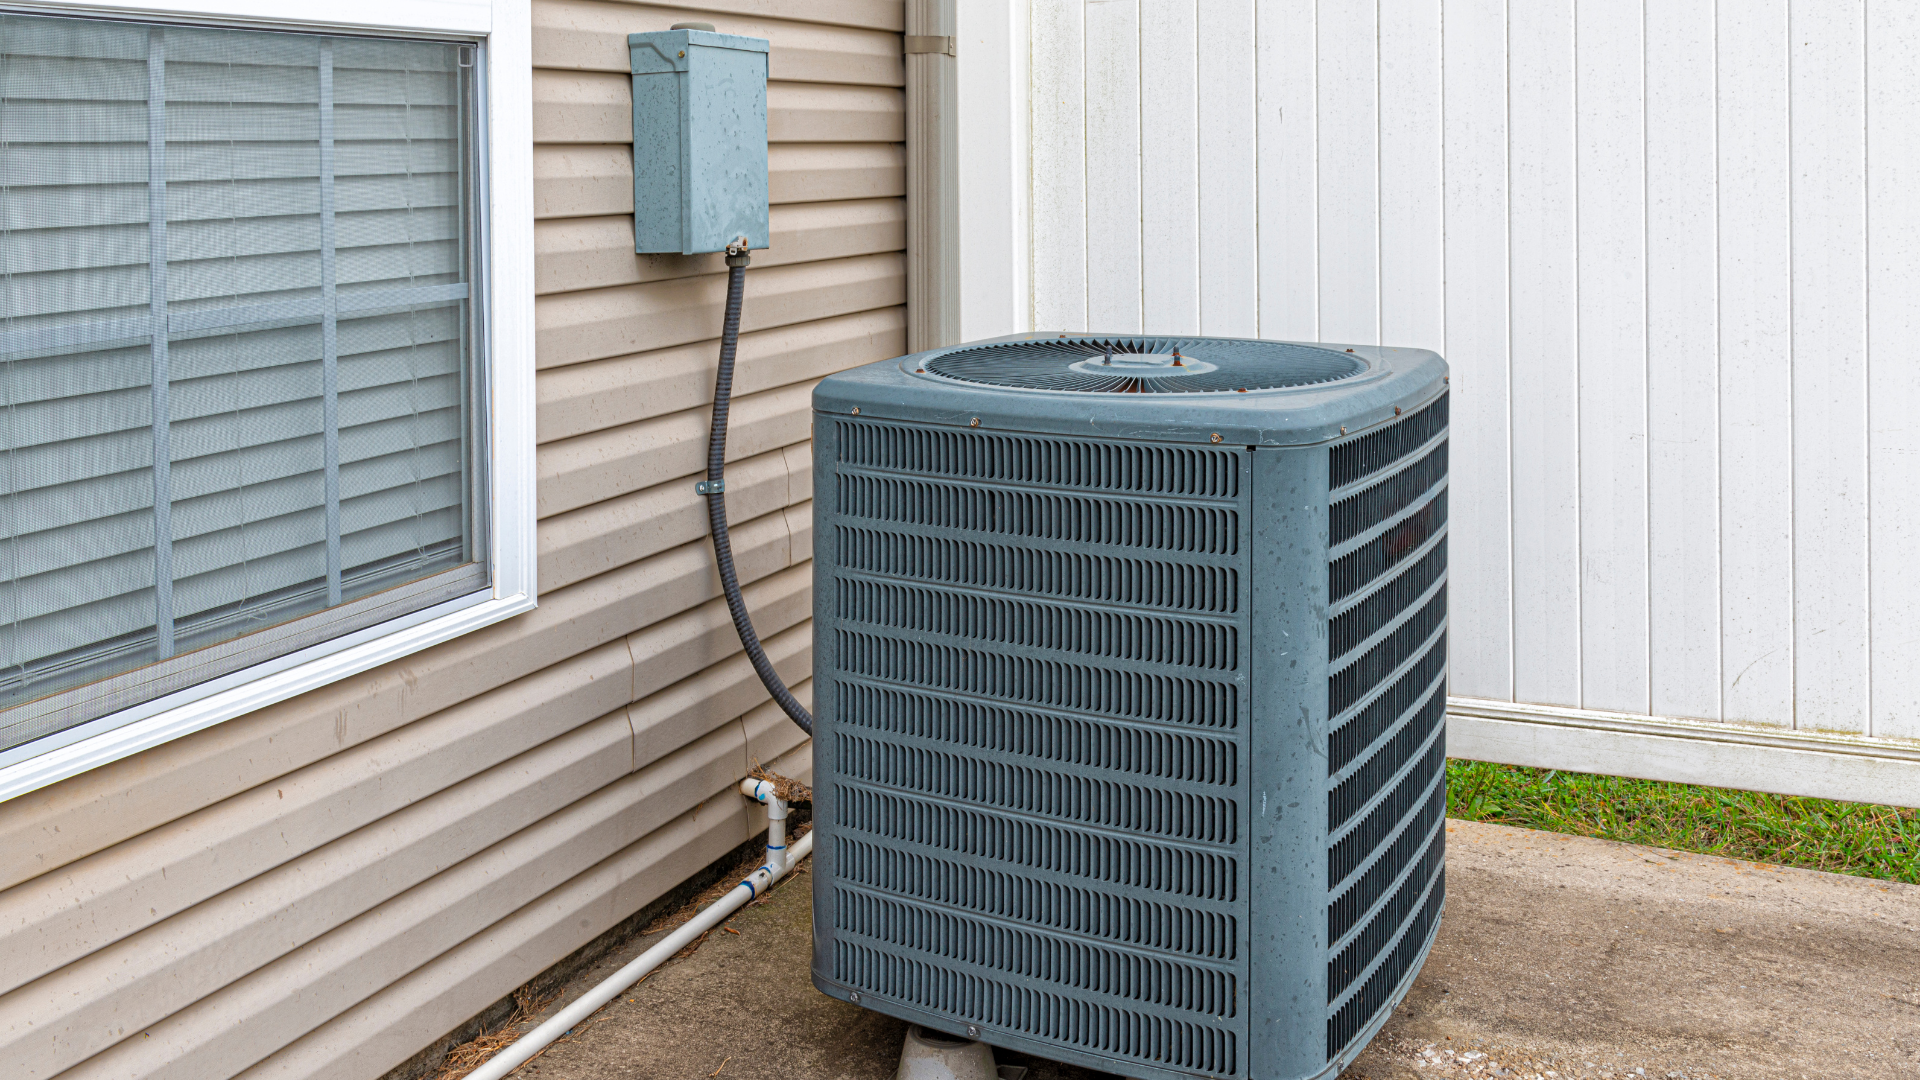
heating and cooling process and pump it away to a suitable drain. Without a functioning condensate pump, this water could accumulate, leading to potential water damage, mold growth, or even system shutdown.
How to Maintain a Condensate Pump
Regular maintenance is key to preventing pump failure and costly water damage. It's a simple process that homeowners can typically do themselves. It should be performed at least once a year, ideally at the beginning of the cooling or heating season.
- Disconnect the Power: Always unplug the pump or turn off the power to your HVAC system at the breaker box before beginning any maintenance.
- Inspect the Pump: Visually check the pump for any signs of leaks, cracks, or corrosion. Make sure the inlet and outlet pipes are securely connected.
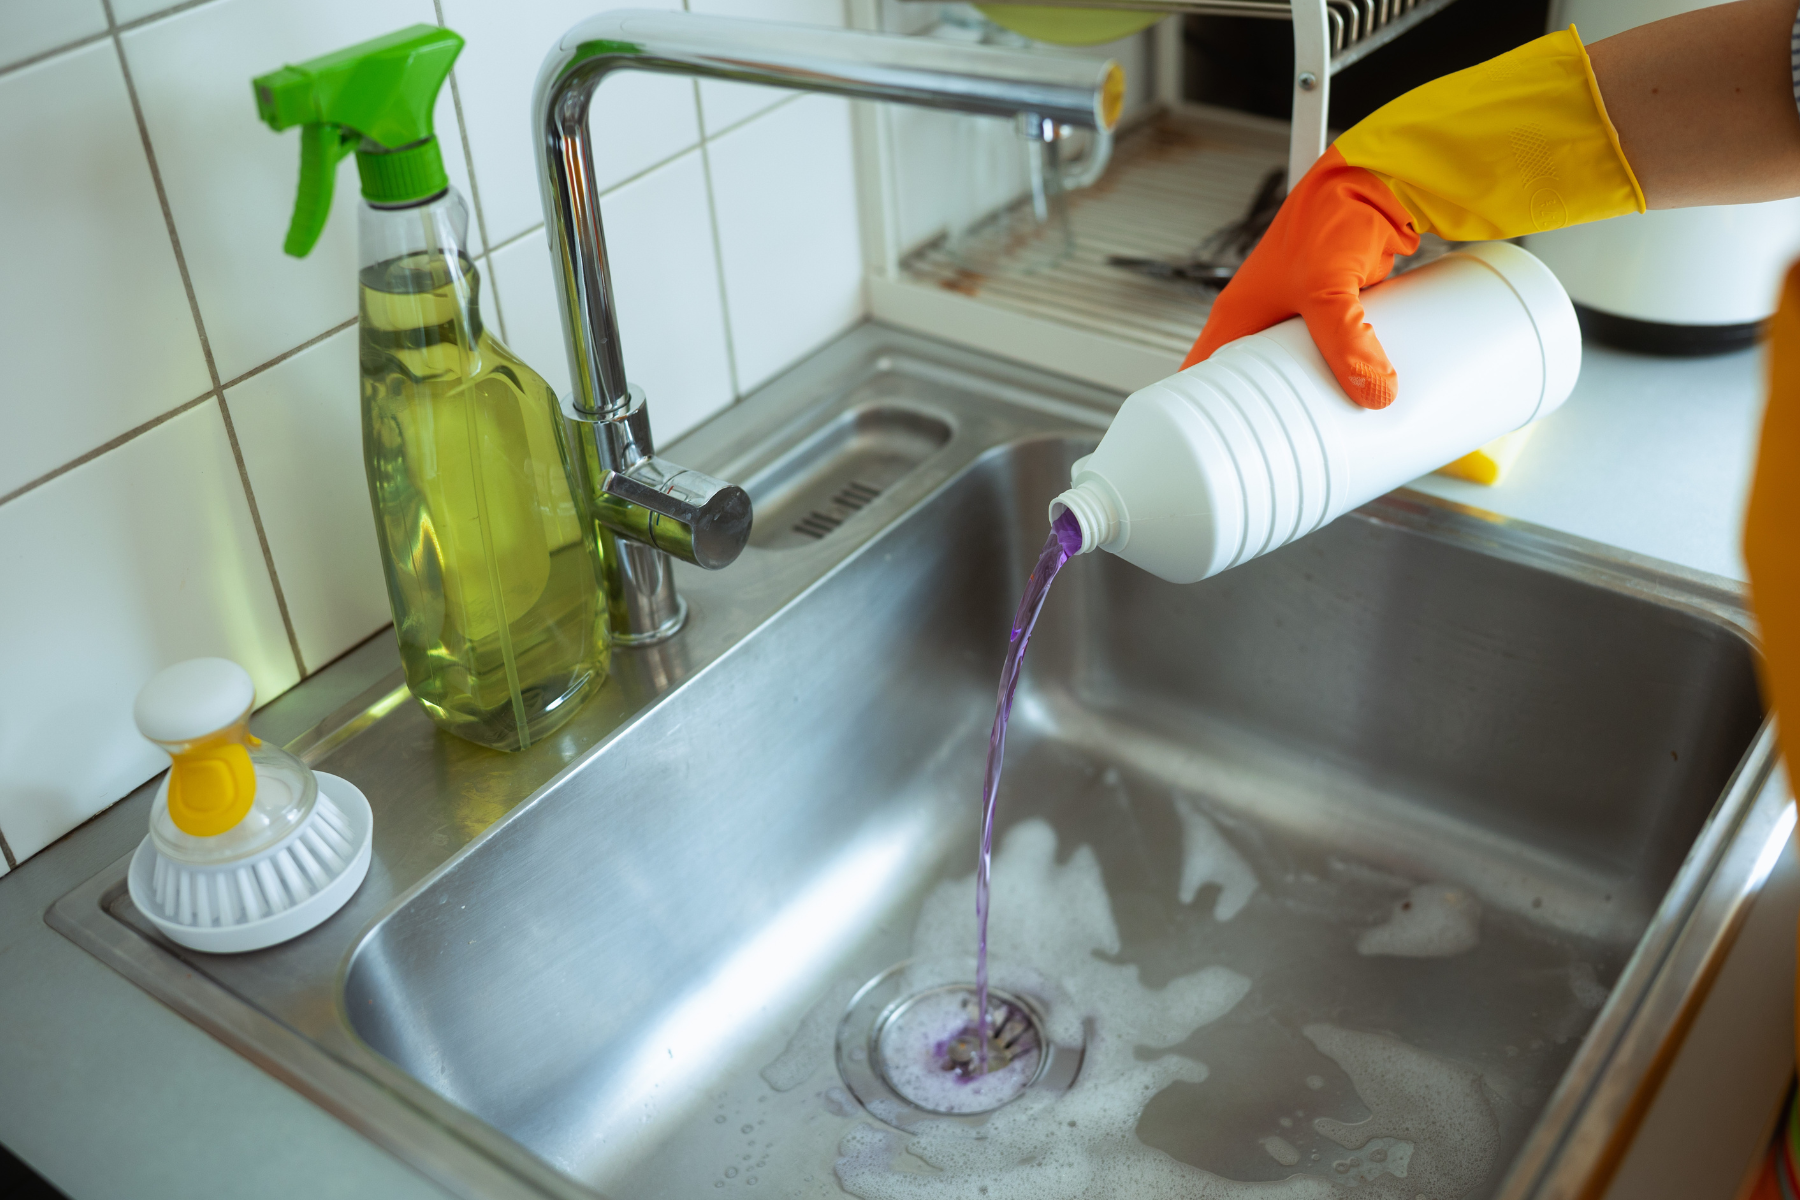
- Clean the Reservoir: Remove the pump's lid (you may need a screwdriver) and empty the water from the reservoir. Clean the inside of the tank with warm, soapy water and a soft brush or old toothbrush to remove any slime, mold, or debris. A mixture of white vinegar and water can also be used to help dissolve any buildup.
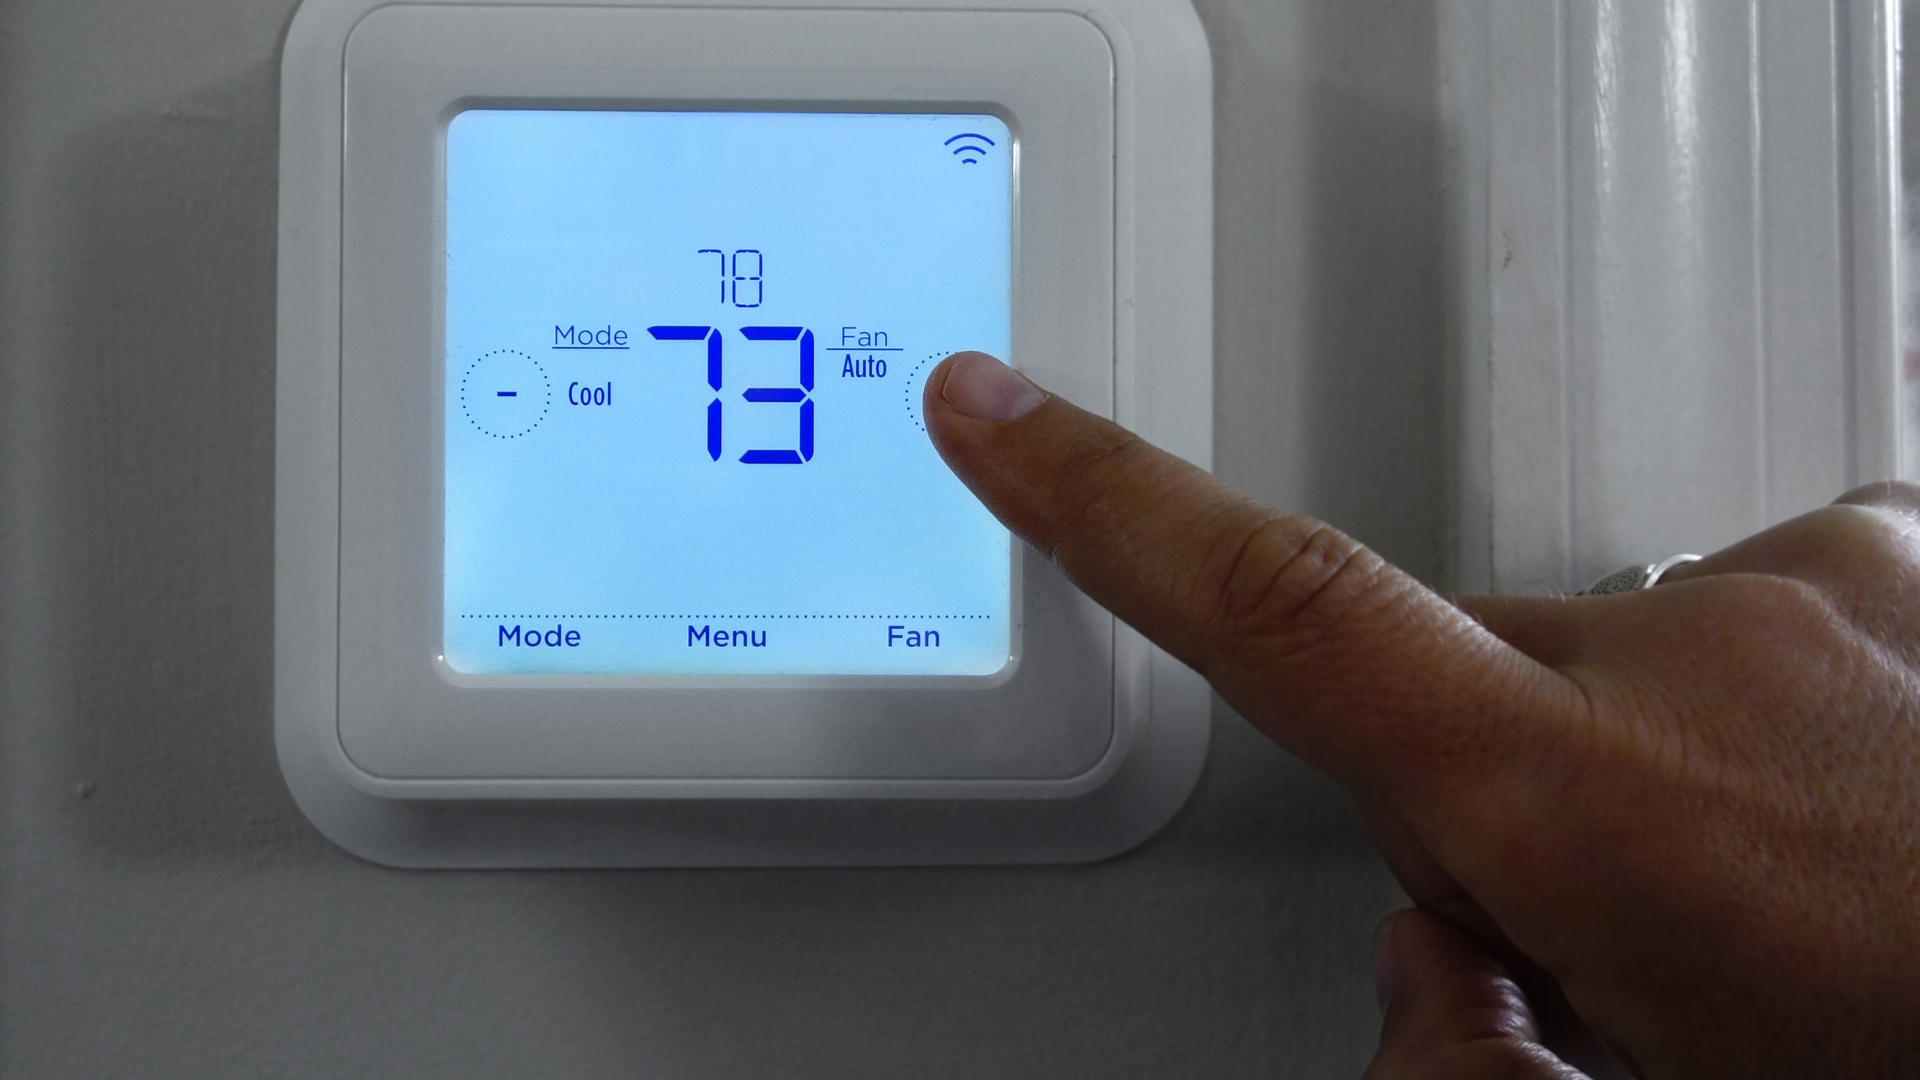
- Check the Float Switch: Ensure the float switch, which activates the pump, moves freely. If it's stuck, the pump won't turn on and could cause an overflow.
- Flush the Drain Line: After cleaning the pump, you can also flush the drain line with a mixture of vinegar and water to clear any blockages. Be sure to have a bucket underneath the line to catch the fluid.
- Reconnect and Test: Reattach the lid and reconnect the power. To test the pump, pour a few gallons of water into the reservoir to ensure it turns on and pumps the water out.
Condensate Pump Replacement: DIY vs. Professional
When a condensate pump fails, it's often a straightforward process to replace, but there are some factors to consider.
- DIY Replacement: Replacing a condensate pump can be a feasible DIY project for a homeowner with some basic plumbing and electrical knowledge. The pumps themselves are relatively inexpensive, often ranging from $50 to $150. The process generally involves disconnecting the old pump, connecting the new one to the drain lines and power source, and testing it.
- Professional Replacement: While the pump itself is affordable, having an HVAC professional handle the replacement can add significant cost. A professional replacement, including the new pump and labor, typically costs between $250 and $440. This cost is justified by the peace of mind that comes with a correct installation, as a professional can ensure the pump is properly sized, wired, and connected, preventing future issues. They can also inspect the rest of the HVAC system to identify any other underlying problems.
For most homeowners, a DIY replacement is possible, but if you are uncomfortable working with electrical components or plumbing, or if the installation is complex, calling a professional is the safer option to avoid potential water damage and ensure proper function.
Click Another Article to Read More